Easy To Make DIY Fabric Covered Flower Pots
This post contains affiliate links and/or images. My kids and I love to make crafts together. Even Henry will jump in with Caitlin and I and try his hand at making a DIY project.
We planted an herb garden for the first time last year and we had a lot of fun doing that. The one thing we all agreed on is how plain the clay pots we planted our herbs in looked. We decided to make an easy to make DIY Fabric Covered Flower Pots craft!
A Fun Craft For The Whole Family!
This year, we decided to create a really cute flower-pot for our new herbs. These DIY Fabric Covered Flower Pots is so simple to make, cost less than $3 and are absolutely adorable.
They would make the perfect gift for mom, your teacher or to keep for yourself! Another cute craft for mom or a teacher that is super cheap and easy to make are these Lavender and Oatmeal Bath Bombs.
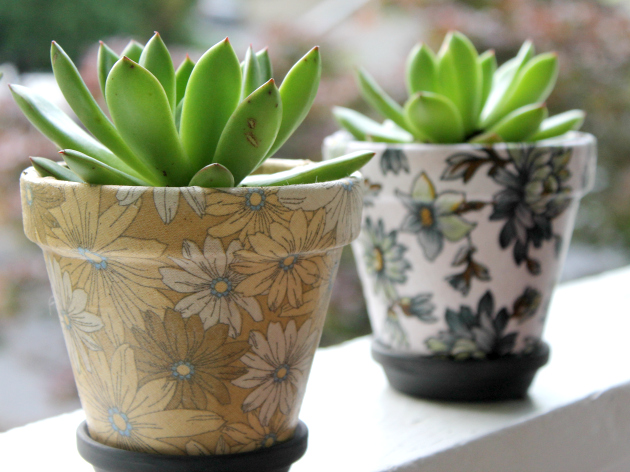
Supplies that you will need for this craft :
- Terracotta pots
- Cotton fabric
- Mod Podge
- Brush
- Scissors
- Spray Clear Coat
- Pencil
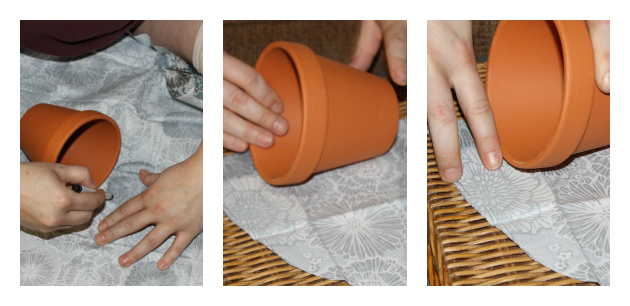
Step 1: Lay out your fabric on a flat surface. Lay terracotta pot on top of the fabric. Draw an arc (horseshoe shape.)
Position the fabric (right side down) so the flat end of the arc is facing you. Lay the pot so the top is to your right and the bottom is on your left.
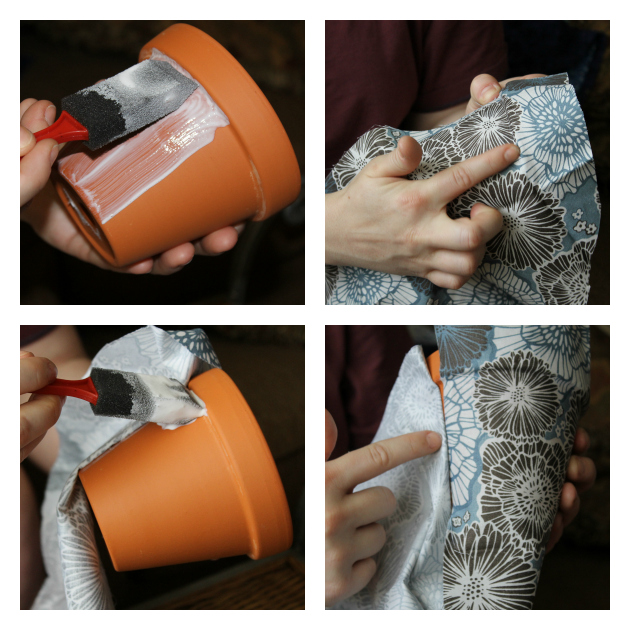
Step 2: Brush a strip of Mod Podge on the pot, approximately 2″ wide. Press on fabric and smooth. Repeat process until entire pot is covered.
You will have excess fabric, so you will need to trim that, leaving 1/8″ overlap.
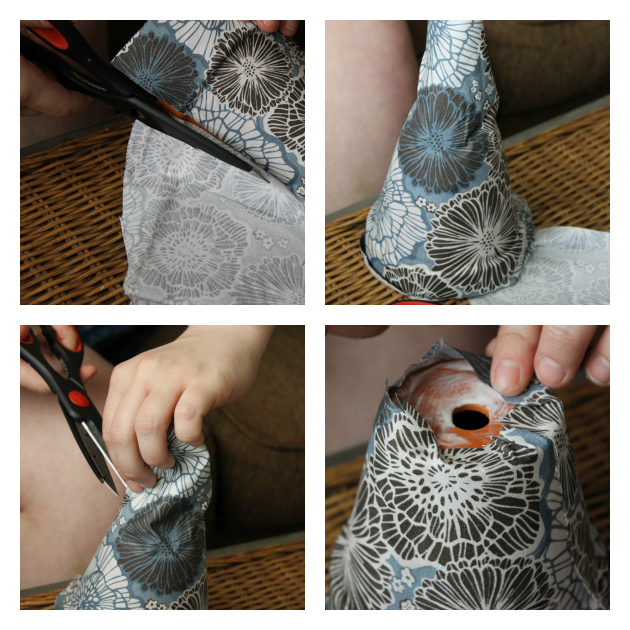
Step 3: You will have excess fabric, so you will need to trim that, leaving 1/8″ overlap. Turn the pot upside down and trim the excess (it looks like the tip of the sorting hat from Harry Potter), leaving a 1/3″ inch overlap.
Pointing your scissors downward, cut 1/8″ slits into the excess fabric, making small tabs. About 6 of them should be fine. Mod Podge the bottom of the pot and press down each tab of fabric.
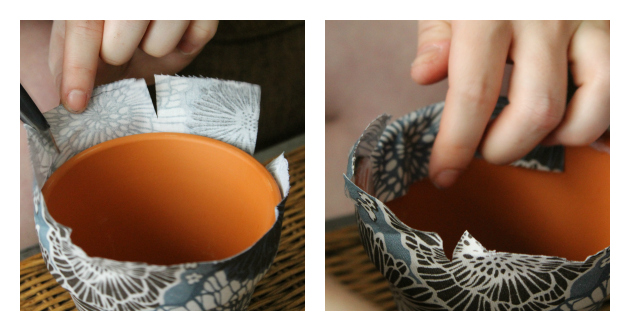
Step 4: Turn the pot right side up and pointing your scissors downward, cut 1/4″ slits into the excess fabric, making small tabs. About 6 of them should be fine.
Mod Podge the bottom of the pot and press down each tab of fabric. Mod Podge the rim of the pot and about 1/2″ down, all the way around. Repeat the same process with the tabs as above.
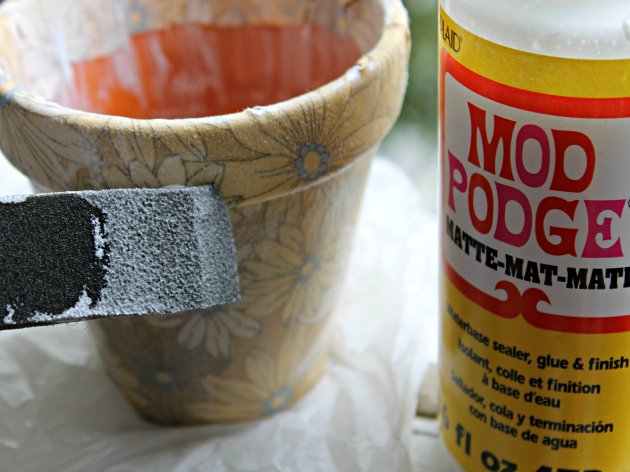
Step 5: Mod Podge the entire pot, brushing it all over the fabric covered area. Let dry 15-20 minutes.
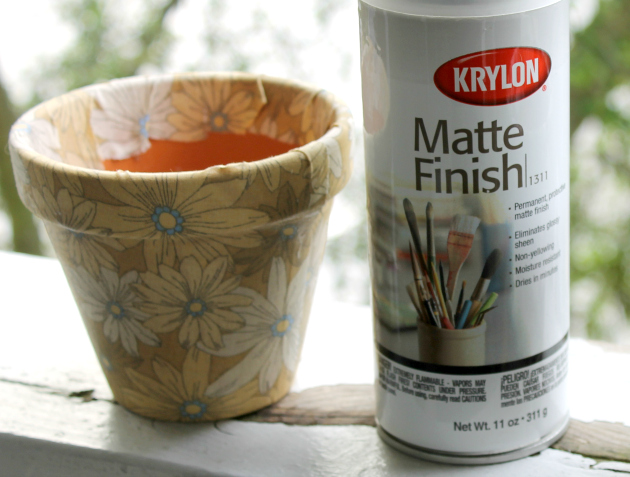
Step 6: Spray the pot with the clear coat (I use the matte finish) and let dry (about 20-30 minutes.)

Step 7: If you prefer (which I do because it looks nicer) spray the clay saucer that goes under the pot with a complimentary color.
Now you are ready to plant your plants, herbs or flowers! Click the images below to order what you need from Amazon!
 Copyright secured by Digiprove © 2019 Kelly Hutchinson


