Easy To Make Plastic Easter Egg Wreath Craft
This post contains affiliate links and/or images. Spring has sprung! As I work, I hear the birds chirping. The sun is shining and it is almost 80 degrees!
When the weather is pretty like this, I get inspired to make some some spring and Easter crafts. This year, Caitlin and I decided to make a wreath for the back door. I love how our DIY Floral Easter Egg Wreath turned out!
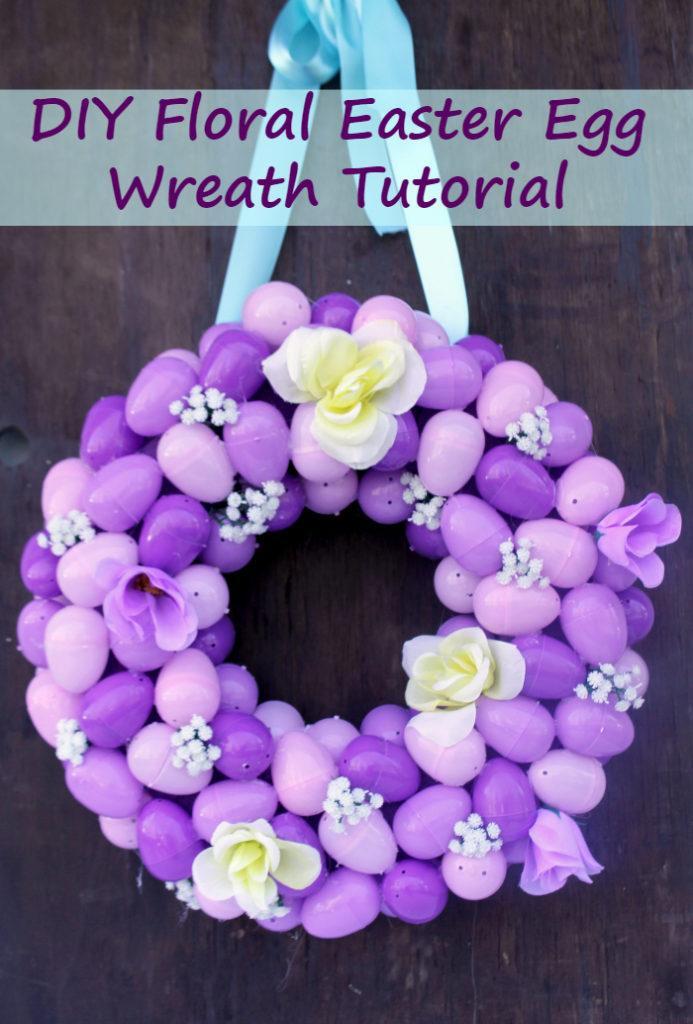
This Easy To Make Plastic Easter Egg Wreath Craft was inspired by an idea I saw on Oriental Trading, one of my favorite places to shop!
When I am in a DIY mood, I know Amazon has everything I need for my crafting needs.

Caitlin and I have made several DIY projects this year and almost everything we purchased was from Amazon. I love that I can order what I need and in a few days, I have my supplies ready to craft with. Easy Peasy, right?!

This Easter Caitlin and I decided to make a pretty DIY Floral Easter Egg Wreath we had seen on Pinterest. We have so many wreaths, but none for Easter.
This was the perfect project to work on for an afternoon of mommy and daughter time!
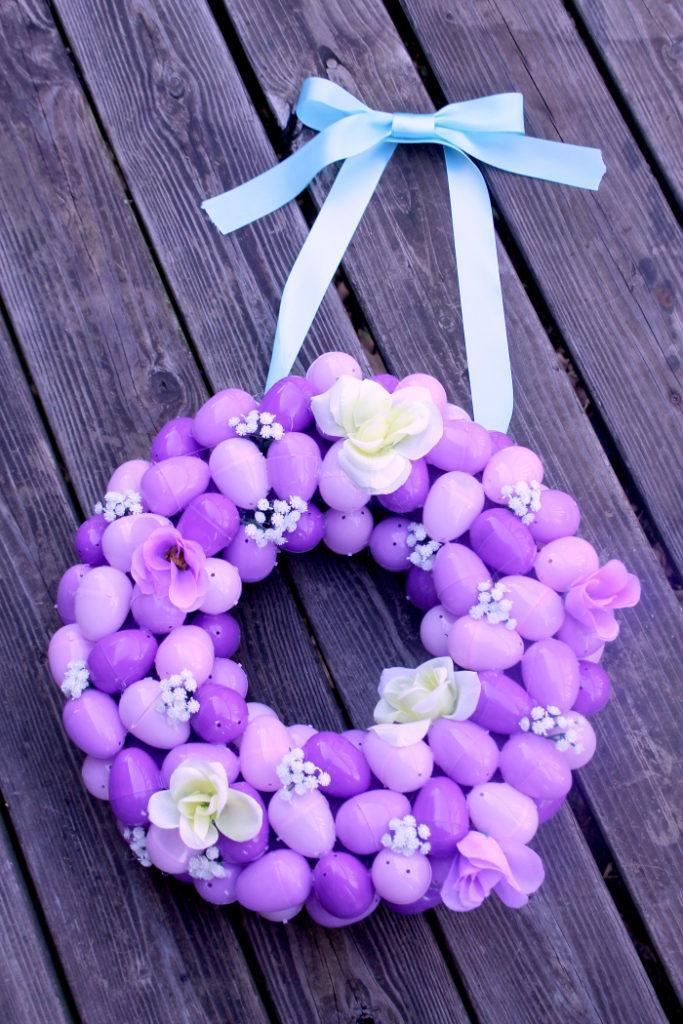
Not Only Easy But Beautiful Too!
Are you ready to make my Easy To Make Plastic Easter Egg Wreath Craft? All you need are a handful of supplies from Amazon and a few hours!
Before you know it, you will have a beautiful wreath for your door or centerpiece for your table. You can click on the images below to order what you need.
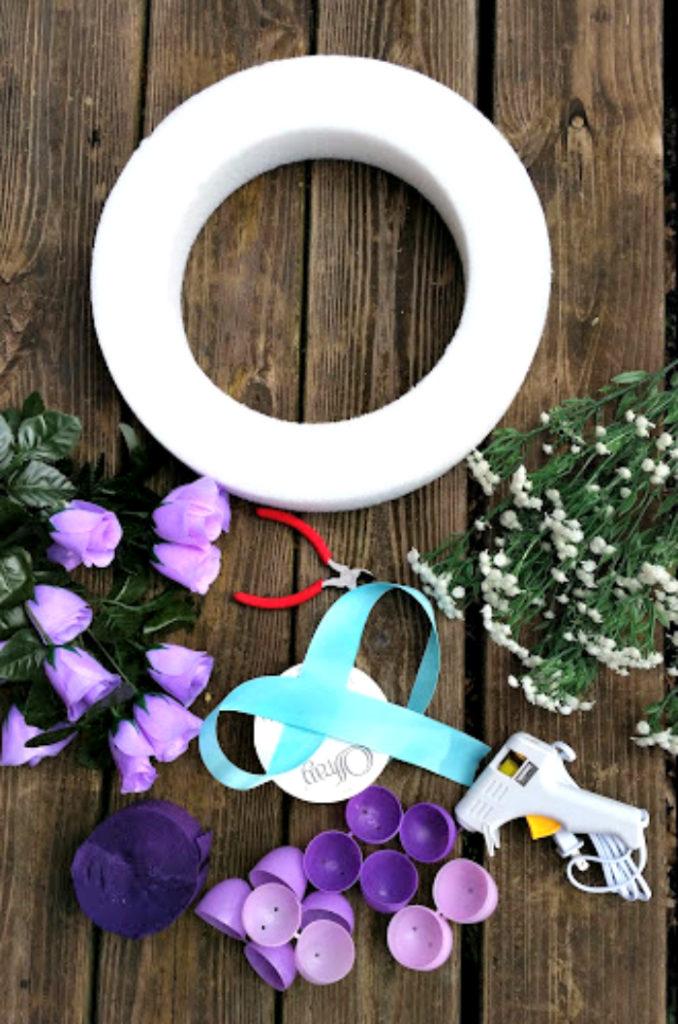
To create this Easy To Make Plastic Easter Egg Wreath Craft, you will need:
- White Foam Wreath Form
- Purple Plastic Easter Eggs
- Artificial Lavender Rosebuds
- Additional greenery you may have on hand. We had some artificial flowers left from a Mother’s Day craft the year before.
- Purple Paper Jumbo Streamers
- Ribbon
- Faux Baby’s Breath Stems
- Glue Gun
- Hot Glue
- Wire Cutters
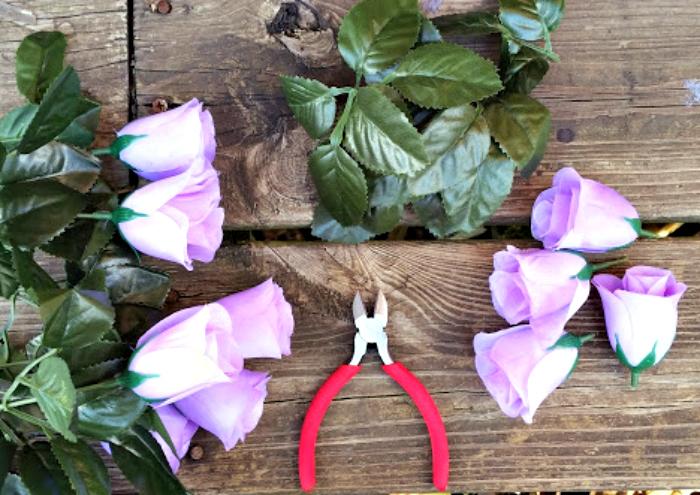
Step One: Using your wire cutters, cut your rose buds off at the top of the stem. Separate the extra leaves.
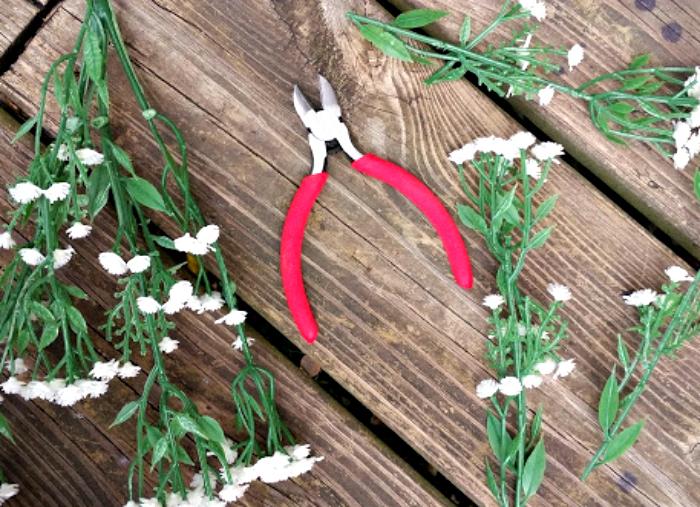
Step Two: Using your wire cutters, separate your baby’s breath. Cut the blooms about 2″ down. Snip off the smaller leaves. This makes it easier to stick them into the foam wreath.
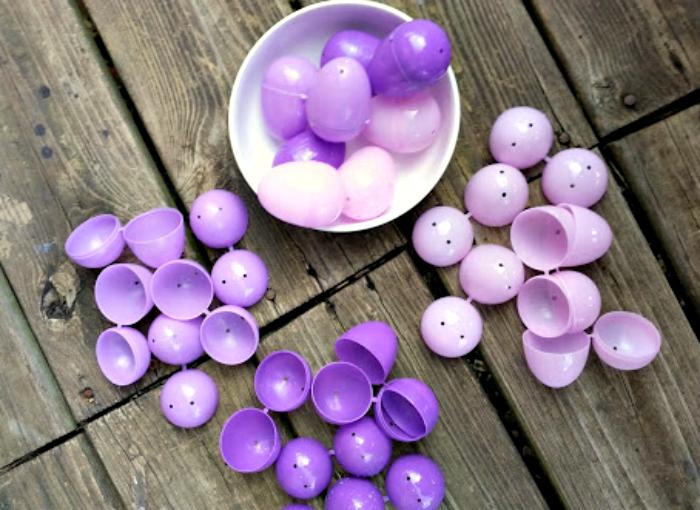
Step Three: Snap your plastic Easter eggs into place.
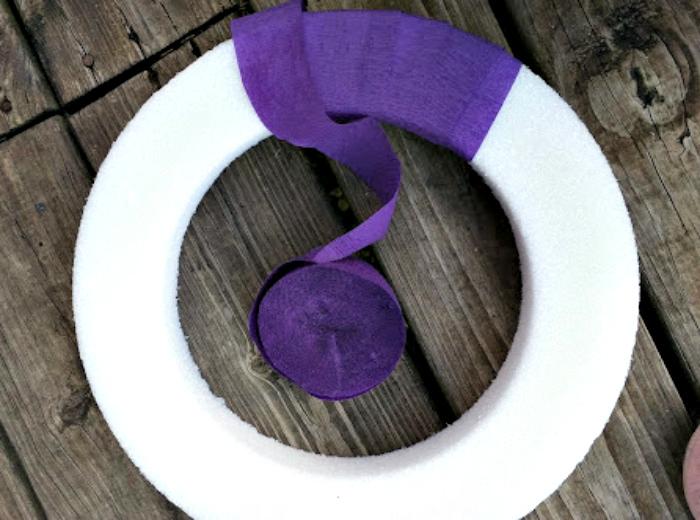
Step Four: Wrap your paper streamer around the foam wreath. I wrapped mine around twice, but that is optional. Once is fine. Secure the end to the foam wreath with your glue gun or a floral pin.
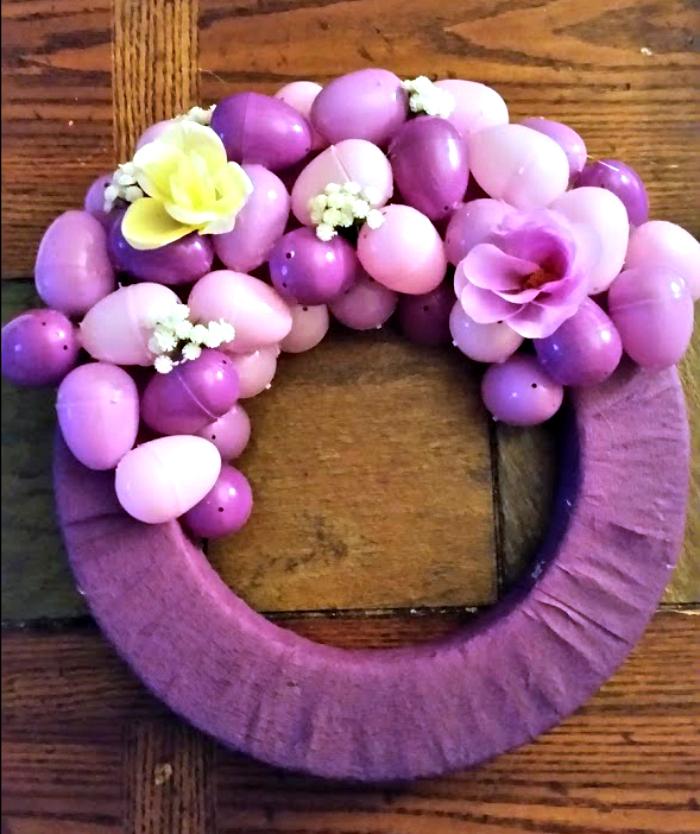
Step Five: Begin gluing your plastic Easter eggs to the wreath. Be careful! The hot glue gun gets hot. I suggest doing a small section at a time and taking a break. We glued eggs to the top, front and inner portion of the wreath. I leave this up to you to decide how much coverage you want. It is a personal choice. This is the most time consuming part. It took about an hour to completely glue all the eggs to the wreath.
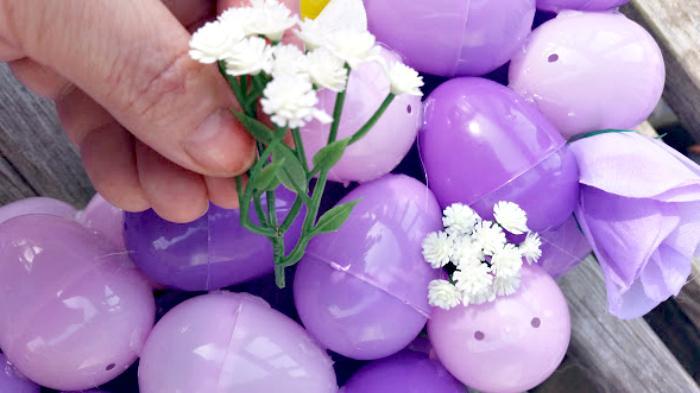
Step Six: You will have some small “holes” where the eggs you glues did not border each other completely. This is a great place to insert your flowers and greenery.
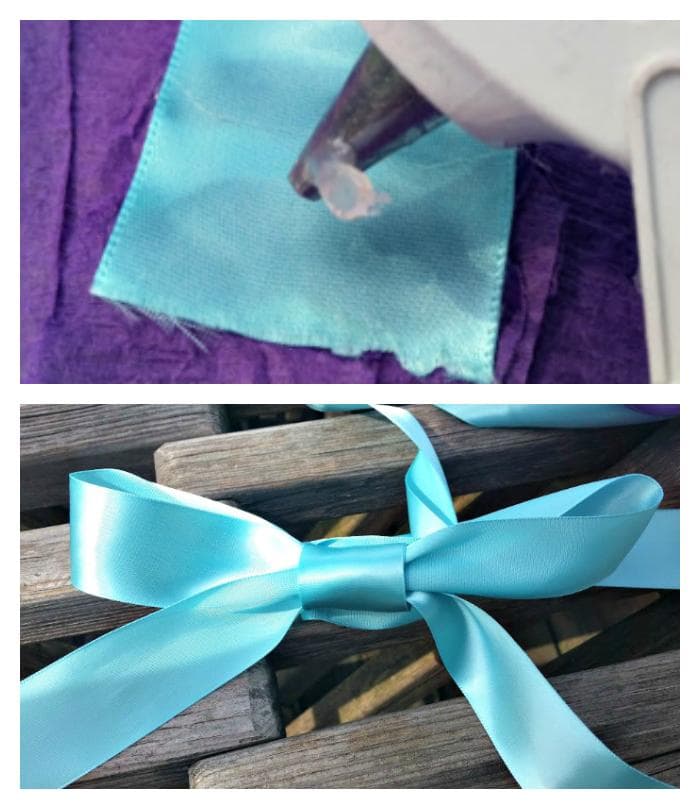
Step Seven: Using your ribbon, measure a length suitable to hang on your door. We made ours about 22″. Glue the ends to the back of the wreath.
If you like, Make a bow to go at the top of the hanging ribbon. Now you are ready to hang your beautiful wreath!

Do you have any Easter or Spring craft you want to make? I would love to hear about them in the comments below!
 Copyright secured by Digiprove © 2019 Kelly Hutchinson


